What Everyone Gets Wrong About Watercolor Floral Wreath Sets—and How to Fix It
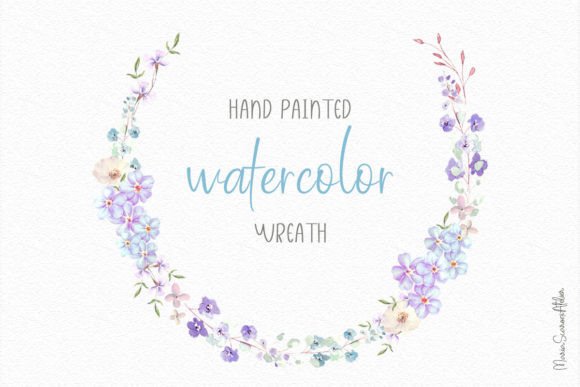
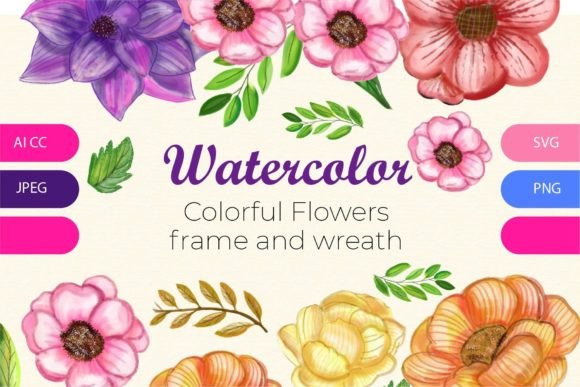
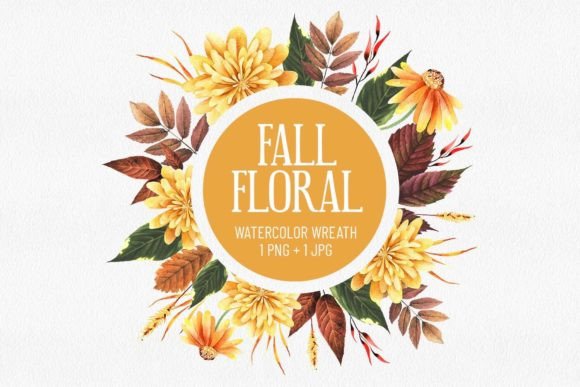
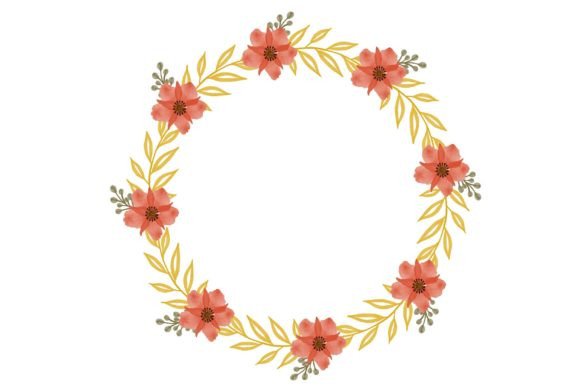
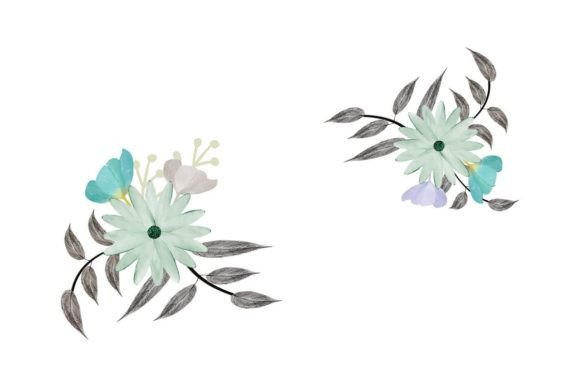
A watercolor floral set of wreath can transform a simple project into something that feels hand-painted and deeply personal. Whether you are designing wedding invitations, decorating a mug, or crafting packaging for a small product line, these delicate botanical arrangements bring a warmth that vector shapes alone cannot replicate. But too many people download a bundle of high-resolution JPG and PNG files and jump straight into a layout without checking a handful of details that quietly sabotage the end result. The good news is that those mistakes are easy to avoid once you know what to look for—and once you stop assuming that all high-resolution files perform the same way. Let’s walk through the real workflow pitfalls and better approaches that professionals and hobbyists alike rely on to make every watercolor wreath look crisp, intentional, and print-ready.
The Silent Killers of a Beautiful Watercolor Wreath
You finally find a water color floral set with sharp lines, unique designs, and even an editable AI file. It looks perfect on screen, so you drag it into your invitation template or paste it onto a poster background. Then the print sample arrives. The soft petals are muddy. The delicate greenery has a ghostly white halo. The composition feels off despite looking balanced in your design software. These are not signs of a bad asset—they are usually signs of small but critical oversights during selection and application. The most common issues boil down to mismatched file formats, misunderstood resolution, ignored color profiles, and a lack of attention to how transparent elements behave against real backgrounds. Once you understand what is actually happening, you gain full control over the final appearance.
High Resolution Does Not Always Mean Print Ready
One of the most frequent misunderstandings revolves around the phrase “high resolution.” A watercolor floral set of wreath may come with a promise of 300 DPI, but if the pixel dimensions are small—say 1200 by 1200 pixels—you cannot scale that wreath to fit an A4 poster without stretching the image. DPI alone is meaningless without the corresponding physical size. A better approach is to check the actual pixel width and height of each file before you buy or download. For prints, you generally need at least 2500 pixels on the longest side for a crisp result at standard card or mug dimensions. When you receive the files, open them in an image editor and look at the native size at 300 DPI. If the wreath measures only a few inches across at that resolution, you will need to use it as a small accent rather than a full-page element. Anything larger will start to show soft edges that distract from the watercolor texture you want to highlight. This is especially important for wedding invitations, where couples often expect a romantic, refined finish. A slightly blurred wreath cheapens the entire suite. Always confirm that the assets meet the physical size your project demands, not just the DPI label.
When a Transparent PNG Creates a White Outline Nightmare
Many designers gravitate toward high-resolution PNG files because they want the background to disappear behind the floral shapes. But watercolor washes contain semi-transparent pixels that fade gently into nothing. If you place a wreath with soft, translucent edges onto a colored background—say a deep navy envelope liner or a kraft paper label—you may see a thin, whitish fringe where the semi-transparent pixels blend with the white from the original canvas. That happens because the PNG’s alpha channel was not created with a truly transparent edge for all color contexts. The simple fix is to use the included AI file when you need a wreath to sit seamlessly on a darker or vibrant background. Vector paths can be adjusted to eliminate any unwanted halo. If a vector is not available, you can work inside Photoshop or a similar program to refine the layer mask, carefully painting away the pale rim until the transition looks natural. Never assume that a transparent PNG will integrate perfectly with every substrate. Test it on a swatch of your actual background color before committing to a full design.
Mugs and Packaging: Why Your Colors Shift Unexpectedly
Another overlooked detail is the gap between RGB and CMYK color spaces. Watercolor floral sets usually come as RGB files because they originate from scans or photographs of real paintings. That works beautifully for digital screens, social media graphics, or at-home inkjet prints. But when you use those same files on a physical mug, a box, or a fabric tote, the print provider often converts them to CMYK, and some of the subtle pink or lavender tones can become dull. Pastel petals may turn slightly gray, and the overall luminosity drops. Before you send any artwork off to production, open the file in a CMYK preview mode to gauge how much the hues will shift. If the change is too drastic, you can gently adjust the saturation or ask your printer whether they accept RGB files with their own optimized conversion. Some on-demand printing services retain vibrancy better when you supply well-balanced RGB files instead of a pre-converted CMYK document. The key is to have the conversation and run a small test, especially when branding or gift items are involved. A minimal investment in a sample print can prevent a bulk order that looks nothing like the luminous design you fell in love with on screen.
“Unique Designs” Can Still Feel Generic If You Skip This Step
One of the selling points you often see is “unique designs.” It is a comforting phrase, but uniqueness does not always survive when the same wreath bundle is sold hundreds of times. Your greeting card might look identical to a competitor’s product or a friend’s wedding stationery if you use the asset without any personal touch. Instead of dropping a full wreath straight onto your canvas, consider customizing the composition. You can open the AI file and rearrange individual flowers and leaves. You can mask out a section of the wreath to frame text in a more interesting way. You can recolor a few elements to match a specific palette. By investing just twenty extra minutes, you transform a stock watercolor wreath into something that feels tailor-made. That small effort pays off in client work, boutique packaging, and any situation where standing out matters. It also leverages the high-quality line work you already have; the sharp, clean edges hold up beautifully even when you modify them.
Practical Checks Before You Download or Purchase
If you are still browsing for the right watercolor floral set of wreath, adopt a short checklist that will save you hours of frustration later. First, verify exactly which file types are included and at what dimensions. A bundle that offers a high-resolution JPG, a transparent PNG, and a fully editable AI file gives you flexibility for nearly any project. Second, look for a license that explicitly covers commercial use if you plan to sell products featuring the art. Many free or low-cost sets restrict commercial application, and ignoring that can lead to legal and ethical headaches. Third, inspect the preview images closely. Zoom in to see if the brush strokes are genuine watercolor scans or digital imitations. Genuine watercolor has subtle granulation and paper texture that artificial brushes rarely replicate convincingly. Fourth, consider how well the collection’s style matches your intended aesthetic. A wreath with loose, airy splatters can feel fresh for a modern brand but chaotic for a formal invitation suite. Matching the mood beforehand keeps your design cohesive.
Small Workflow Habits That Elevate Every DIY and Professional Project
Once you have a solid collection, build a few habits that preserve quality. Save a master folder of the original downloads and never directly edit those files. Work on copies so you can always revert to the pristine high-resolution source if something goes wrong. When preparing a file for print, place the PNG or AI at exactly the size you need, and then export the final flattened version at the required resolution. Keep an eye on how the wreath frames your message. A common composition mistake is to center the text perfectly but forget that the wreath’s visual weight is uneven, making the entire piece feel lopsided. Adjust the spacing or rotate the wreath slightly until the overall balance feels right, even if it means breaking the strict mathematical center. For physical items like mugs and tote bags, remember that the surface may not be perfectly flat; wrap the design with enough margin so that the most important floral details do not get lost around a curve.
When you treat your watercolor floral wreath assets as flexible ingredients rather than rigid clip art, you unlock their true potential. The difference between a generic outcome and a polished, professional result often lies not in buying more expensive files, but in how thoughtfully you handle what you already have. Pay attention to pixel dimensions, transparency edges, color spaces, and customization possibilities, and those high-resolution JPG, PNG, and AI files will reward you with prints and products that genuinely reflect the beauty you first saw on your screen. Every invitation, greeting card, mug, and poster can carry the organic charm of real watercolor without the frustration of blurred petals or unexpected white outlines. That is the quiet art behind using these sets well—and it is entirely within your reach.